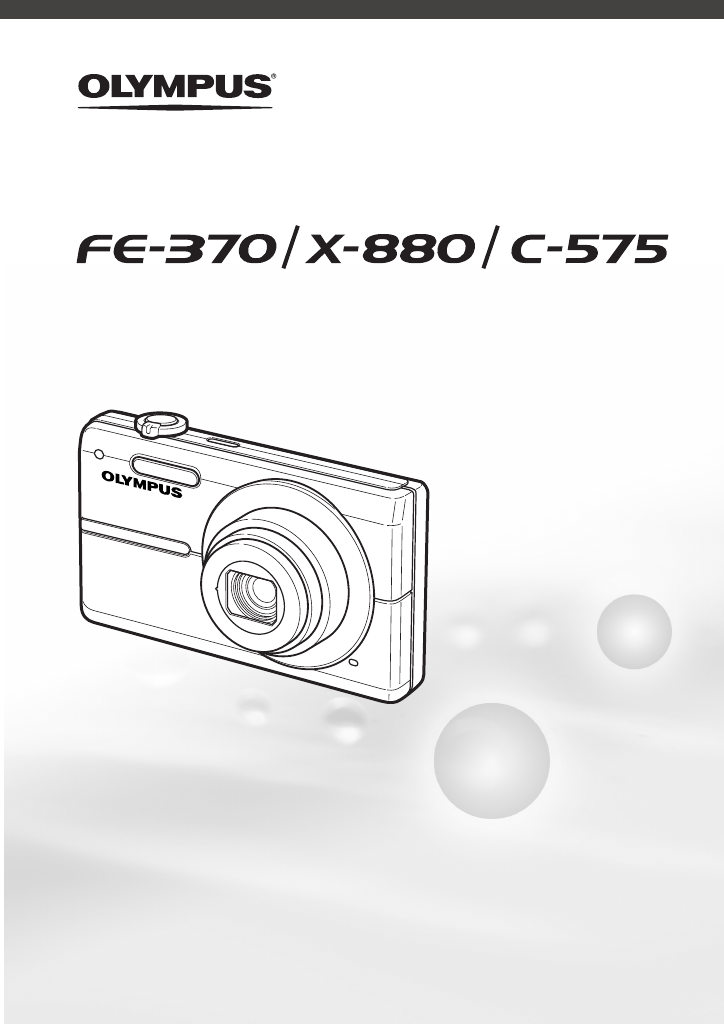
Olympus FE-370 User Manual
Browse online or download User Manual for Cameras Olympus FE-370. Olympus FE-370 User Manual
- Page / 70
- Table of contents
- BOOKMARKS
- Instruction Manual 1
- EXIT SET 3
- Menu Index 5
- Names of Parts 6
- Preparing the Camera 10
- Loading the battery and 11
- To remove the microSD card 12
- Setting the date and time 13
- Shooting with optimum 15
- Viewing images 16
- Erasing images during 17
- Using Shooting Modes 18
- Shooting movies (n mode) 19
- Using Shooting Functions 20
- Shooting closeups 21
- (Macro shooting) 21
- Using the self-timer 21
- SHOOTING GUIDE 22
- Using Playback Features 23
- Playing back My Favorite 24
- Menus for Shooting Functions 25
- K CAMERA MENU X WB 26
- K CAMERA MENU X ISO 26
- K CAMERA MENU X FINE ZOOM 26
- To select a mode 28
- Printing Functions 30
- Protecting images [0] 32
- Rotating images [y] 32
- Erasing images [D ERASE] 33
- [< PRINT ORDER] 33
- [PW ON SETUP] 35
- 2008 10 26 12 30 36
- [POWER SAVE] 37
- [j SILENT MODE] 37
- Printing 38
- SINGLEPRINT MORE 39
- To crop an image (P) 40
- Print Reservations (DPOF 41
- Single-frame print 42
- PRINT ORDER SETTING 43
- Using OLYMPUS Master 2 44
- Operating OLYMPUS Master 2 45
- Transferring and saving 45
- OLYMPUS Master 2 45
- Usage Tips 46
- Error message 47
- Shooting tips 48
- Camera shake 49
- Exposure (brightness) 49
- Color hue 49
- Playback/Editing tips 50
- Appendix 51
- Using your charger abroad 52
- Using an xD-Picture Card 52
- Still images 53
- SAFETY PRECAUTIONS 54
- Handling the Camera 55
- Battery Handling Precautions 56
- Caution for Usage Environment 56
- LCD Monitor 57
- Legal and Other Notices 57
- Disclaimer of Warranty 58
- Copyright Notice 58
- FCC Notice 58
- WHAT IS NOT COVERED BY THIS 61
- LIMITED WARRANTY 61
- Trademarks 62
- SPECIFICATIONS 63
- Lithium ion battery (LI-60B) 64
- Battery charger (LI-60C) 64
Summary of Contents
DIGITAL CAMERA● Thank you for purchasing an Olympus digital camera. Before you start to use your new camera, please read these instructions carefully
10ENPreparing the Camera Charging the batteryAC outletAC cableLithium ion batteryBattery chargerCharging indicatorOn: ChargingOff: Charged Battery c
11EN3NotchContact area Insert the card straight until it clicks into place. Do not touch the contact area directly.421 This camera allows the user
12EN Using the microSD card/microSDHC card (sold separately)A microSD card or microSDHC card (hereafter both will be referred to as microSD card) is a
13EN Setting the date and timeThe date and time set here are saved to image fi le names, date prints, and other data.1 Press the o button to turn on t
14EN3 Press the o button.123BACKUPNOSETUPENGLISHPIXEL MAPPINGMEMORY FORMATMENUEXIT SETOK4 Use ab to select [W] and press the o button.ENGLISHFRANCAISD
15EN Shooting, Playback, and Erasing3 Hold the camera and compose the shot.8M8MP44INNORMNORMHorizontal gripVertical gripMonitor4 Press the shutter b
16EN5 To take the picture, gently press the shutter button all the way down while being careful not to shake the camera.1/4001/400F3.5F3.5PImage revi
17ENOperations during movie playbackVolume: During playback, press ab.Fast-forward: Press and hold down d.Rewind: Press and hold down c.Pause: Press t
18EN2 When f is selected, use ab to select the best shooting mode for the scene, and press the o button.8M8M44INNORMNORMIcon indicating the scene mode
19EN Shooting movies (n mode)1 Set the mode dial to n.00:3400:34IN1515QVGAQVGAA mode indicator2 Press the shutter button halfway down to focus on th
DIGITAL CAMERA● Thank you for purchasing an Olympus digital camera. Before you start to use your new camera, please read these instructions carefully
20EN Using the fl ashThe fl ash functions can be selected to best match the shooting conditions.1 Press the # button.POKOKAUTOSETSETFLASH AUTOFLASH AU
21EN1 Press the F button.0.00.0+0.3+0.3+0.7+0.7+1.0+1.0EXPOSURE COMP.Exposure compensation value2 Use abcd to select the desired brightness, and press
22EN Changing the shooting information displayThe display of the screen information can be changed to best match the situation, such as for the need o
23ENUsing Playback FeaturesTo select an image in index viewUse abcd to select an image, and press the o button to display the selected image in single
24EN Playing back My Favorite images1 Register images as My Favorite images. “Registering images to the internal memory as My Favorite images [f MY
25ENMake the settings for the functions while referring to “Using the Menu” (p. 3).Menus for Shooting FunctionsWhen the mode dial is set to a shooting
26EN Adjusting to a natural color scheme [WB]K CAMERA MENU X WB : P M B E f ASubmenu 2 ApplicationAUTOThe camera automatically adjusts the white bala
27ENMake the settings for the functions while referring to “Using the Menu” (p. 3). Stabilizing the blurred image caused by the camera shake when sho
28EN1 Use abcd to select the direction that the frames are combined.2 Press the shutter button to take the fi rst frame, and then compose the second sh
29ENMake the settings for the functions while referring to “Using the Menu” (p. 3). Restoring the shooting functions to the default settings [R RESET]
4ENUsing the FUNC Menu (p. 22)Using the FUNC Menu (p. 22)Frequently used shooting menu functions can be set with less Steps using the FUNC menu.Using
30ENMenus for Playback, Editing, and Printing FunctionsWhen the q button is pressed, settings can be adjusted during image playback. Playing back pict
31ENMake the settings for the functions while referring to “Using the Menu” (p. 3). Changing the image size [Q]E EDIT X QSubmenu 2 ApplicationC 640 ×
32EN Creating an index of 9 frames from a movie [INDEX]E EDIT X INDEXINDEXSETOKMENUBACK1 Use cd to select a movie, and press the o button.2 Use abcd t
33ENMake the settings for the functions while referring to “Using the Menu” (p. 3). Adding sound to still images [R]q PLAYBACK MENU X RSubmenu 2 Appli
34ENMenus for Other Camera SettingsThese settings can be made when the mode dial is set to a position other than R.Erasing data completely [ MEMORY FO
35ENMake the settings for the functions while referring to “Using the Menu” (p. 3). Setting the startup display screen and sound when the camera is tu
36EN Adjusting the brightness of the monitor [s]x SETUP X sSubmenu 2 ApplicationBRIGHT/NORMALSelect the monitor brightness depending on the surroundin
37ENMake the settings for the functions while referring to “Using the Menu” (p. 3).2 Use the camera to select the same video signal system as the one
38EN Printing2 Turn on the printer, and then connect the printer and camera.Connector coverUSB cable (supplied)Multi-connectorOKPC / CUSTOM PRINTEAS
39EN Changing the printer’s settings for printing [CUSTOM PRINT]1 Follow Steps 1 and 2 for [EASY PRINT] (p. 38), and press the o button.EASY PRINTUSB
4ENUsing the FUNC Menu (p. 22)Using the FUNC Menu (p. 22)Frequently used shooting menu functions can be set with less Steps using the FUNC menu.Using
40EN6 Use cd to select an image.7 Press the < button to make a print reservation for the current image.Press b to make the detailed printer setting
41EN10 Use ab to select [PRINT], and press the o button.Printing starts.When [OPTION SET] is selected in [ALL PRINT] mode, [PRINT INFO] screen is disp
42ENSingle-frame print reservations [<]1 Press the q button, and then press the m button to display the top menu.2 Use abcd to select [<PRINT OR
43ENReserving one print each of all images on the card [U]1 Follow Steps 1 and 2 in [<] (p. 42).2 Use ab to select [U], and press the o button.3
44EN Using OLYMPUS Master 2WindowsAfter the computer detects the camera, a message indicating the completion of the setting appears. Confi rm the messa
45ENOperating OLYMPUS Master 2When OLYMPUS Master 2 is started, Quick Start Guide appears on the screen that helps you to handle the camera without an
46ENUsage TipsIf the camera does not work as intended, or if an error message is displayed on the screen, and you are unsure of what to do, refer to t
---- -- -- -- --XYMYMDDTIMEMENUCANCEL47EN“Vertical lines appear on the screen”.Vertical lines may appear on the screen when the camera is pointed at a
48ENrTHE IMAGE CANNOTBE EDITEDProblem with selected imageUse photo retouch software, etc. to edit the image on a computer.CARD-COVER OPENOperation pro
49ENWhen objects are at different distancesFast-moving objectThe subject is not in the center of the frameCamera shake“Taking pictures without camera
5EN1 y SLIDESHOW ... p. 302 w PERFECT FIX ... p. 303 f MY FAVORITE ... p. 304 E EDITQ (Resize) ... p. 31P
50ENImage qualityTaking sharper picturesTaking pictures with the optical zoomAvoid using digital zoom (p. 20) to take pictures.Taking pictures at a lo
51ENAppendix Battery and chargerThis camera uses one Olympus lithium ion battery (LI-60B). No other type of batteries can be used.Power consumption b
52ENUsing your charger abroadThe charger can be used in most home electrical sources within the range of 100 V to 240 V AC (50/60Hz) around the world.
53ENReadout/recording process of the cardNever open the battery/card compartment cover while the camera is reading or writing data, which is indicated
54ENIncreasing the number of pictures that can be takenEither erase unwanted images, or connect the camera to a computer or other device to save the i
55ENHandling the Camera WARNINGDo not use the camera near fl ammable or explosive gases.Do not use the fl ash and LED on people (infants, small children
56ENBattery Handling PrecautionsFollow these important guidelines to prevent batteries from leaking, overheating, burning, exploding, or causing elect
57ENBattery Handling PrecautionsThis camera uses a lithium ion battery specifi ed by Olympus. Do not use any other type of battery. For safe and proper
58ENDisclaimer of WarrantyOlympus makes no representations or warranties, either expressed or implied, by or concerning any content of these written m
59ENRepresentative plug of power supply cord of countries/regions around the worldA Type (American Type)B Type (British Type)BF Type (British Type) B3
6ENNames of Parts1 Self-timer lamp ...p. 212 Multi-connector ...p. 36, 38, 443 Strap eyelet ...
60ENFor customers in North and South AmericaFor customers in USADeclaration of ConformityModel Number : FE-370/X-880/C-575Trade Name : OLYMPUSRespon
61ENWHAT IS NOT COVERED BY THIS LIMITED WARRANTYExcluded from this limited warranty and not warranted by Olympus in any fashion, either express, impli
62ENWHAT TO DO WHEN SERVICE IS NEEDEDThe customer must transfer any image or other data saved on a Product to another image or data storage medium and
63ENSPECIFICATIONSCameraProduct type : Digital camera (for shooting and displaying)Recording systemStill pictures : Digital recording, JPEG (in accord
64ENLithium ion battery (LI-60B)Product type : Lithium ion rechargeable batteryModel No. : LI-60BStandard voltage : DC 3.7 VStandard capacity : 680 mA
65ENIndexAAF MODE ... 28Arrow pad ... 12AV cable ...
66ENNNatural color ... 26NIGHT+PORTRAIT M ... 18OOLYMPUS Master 2 ...
67ENMEMObook_FE370_en.indb 67book_FE370_en.indb 67 6/12/2008 10:45:15 AM6/12/2008 10:45:15 AM
68ENMEMObook_FE370_en.indb 68book_FE370_en.indb 68 6/12/2008 10:45:15 AM6/12/2008 10:45:15 AM
4ENUsing the FUNC Menu (p. 22)Using the FUNC Menu (p. 22)Frequently used shooting menu functions can be set with less Steps using the FUNC menu.Using
7EN423561712131198101 o button ... p. 132 K button (shooting)...p. 163 Card access lamp ...
DIGITAL CAMERA● Thank you for purchasing an Olympus digital camera. Before you start to use your new camera, please read these instructions carefully
8ENMonitorShooting mode display+2.0+2.01/301/30F3.5F3.5P44INISO1600ISO1600NORMNORM179811131415 1012191817162 54 63+2.0+2.0IN00:3400:34VGAVGA151519811
9ENPlayback mode display8M8M2008.10.262008.10.2612:3012:3044+2.0+2.0F3.5F3.51010INxx100-0004100-0004NORMNORM1/10001/1000ISO 1600ISO 16002910867113 4 5
More documents for Cameras Olympus FE-370


Related products and manuals for Cameras Olympus FE-370
 (111 pages)
(62 pages)
(111 pages)
(62 pages)


 (172 pages)
(2 pages)
(80 pages)
(2 pages)
(2 pages)
(2 pages)
(2 pages)
(2 pages)
(116 pages)
(1 pages)
(70 pages)
(2 pages)
(1 pages)
(171 pages)
(83 pages)
(104 pages)
(74 pages)
(172 pages)
(2 pages)
(80 pages)
(2 pages)
(2 pages)
(2 pages)
(2 pages)
(2 pages)
(116 pages)
(1 pages)
(70 pages)
(2 pages)
(1 pages)
(171 pages)
(83 pages)
(104 pages)
(74 pages)
© 2020, manymanuals.com. All rights reserved. | 0.525 s |
 Manymanuals.com
 Manymanuals.de
 Manymanuals.fr
 Manymanuals.it
 Manymanuals.pl
 Manymanuals.cz
 Manymanuals.es
 Manymanuals-pt.com
Comments to this Manuals