Olympus PT055 User Manual
Browse online or download User Manual for Accessories for video Olympus PT055. Olympus PT055 User Manual [fr] [en] [es]
- Page / 29
- Table of contents
- BOOKMARKS
- Printed in China 1
- VM975401 1
- Introduction 2
- For safe use 3
- Contents 6
- 1. Preparations 8
- Names of the parts 9
- Using the accesories 11
- Installation Removal 12
- Using the fiber cable adapter 13
- 2. Advance Check of the Case 14
- 3. Install the digital camera 15
- Load the digital camera 16
- Seal the Case 17
- Perform the final checks 18
- Water Leakage Test 18
- Underwater shooting modes 19
- 5. Handling After Shooting 21
- Take out the digital camera 22
- Wash the Case with pure water 22
- Dry the Case 22
- Remove the O-ring 23
- Remove any sand, dirt, etc 23
- CAUTION: 24
- Install the O-ring 26
- Replace consumable parts 26
- 7. Appendix 27
- Sold separately accessories 28
Summary of Contents
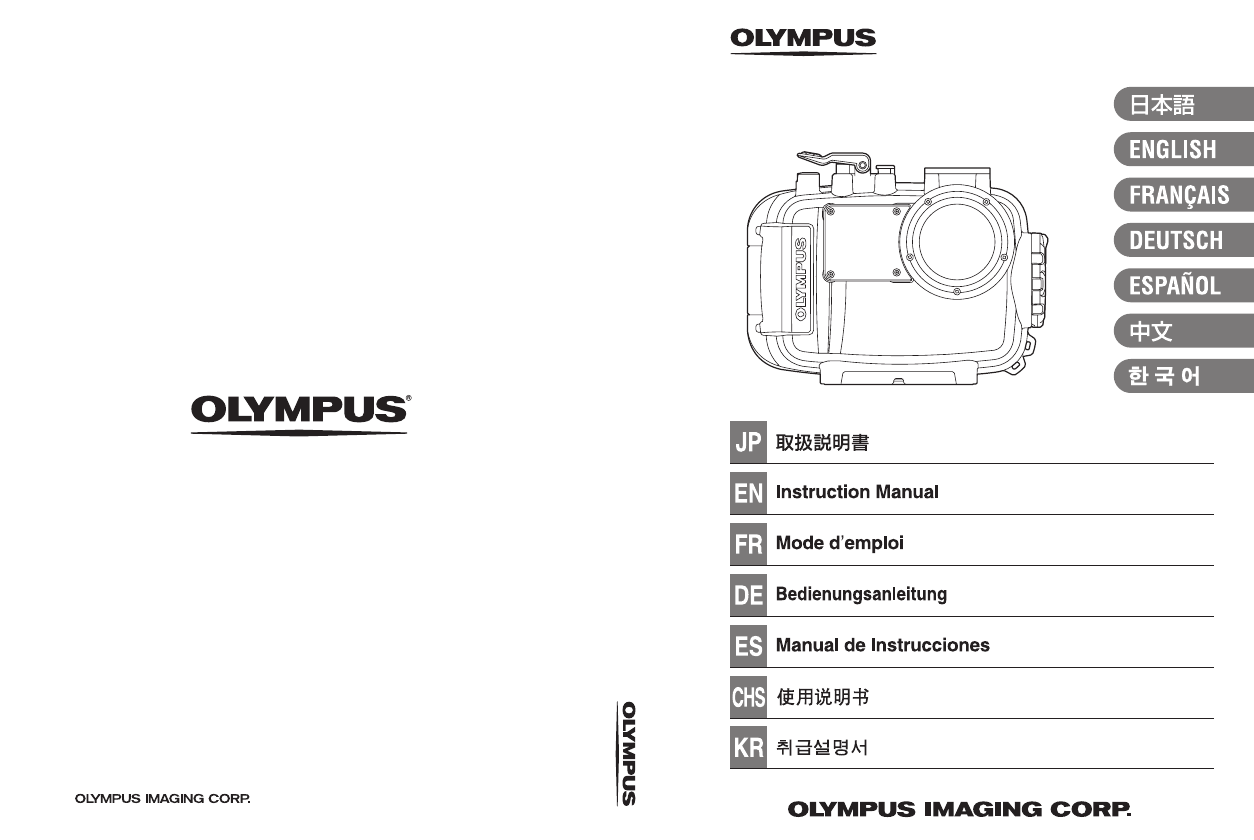
PT-055 Instruction Manual PT-055©2013 Printed in Chinahttp://www.olympus.com/ VM975401PT-055_1-4.fm 1 ページ 2013年1月7日 月曜日 午後4時58分
EN 10EN******c q buttond Zoom buttone ( (REC) buttonf Mode dial knobg INFO button/arrow pad Sh #button/arrow pad X*i OK/AFL button (*1)(*1) During Und
EN 11ENUsing the accesoriesInstall the strapInstall the strap on the Case body.How to use the hand strapPass your hand through the hand strap and adju
EN 12ENInstallation and removal of the LCD hoodInstallationFit the LCD hood as shown in the figure into the guides above and below the LCD monitor win
EN 13ENUsing the fiber cable adapterThe fiber cable adapter is required when connecting the separately available UFL-1 underwater flash to the Case us
EN 14EN2. Advance Check of the CaseAdvance check before useThis Case has been the subject of thorough quality control for the parts during the manufac
EN 15EN3. Install the digital cameraCheck the digital cameraCheck the digital camera before loading it in the Case.1. Battery ConfirmationThe flash is
EN 16ENLoad the digital camera1 Confirm that the digital camera is OFF.2 Gently insert the digital camera into the Case. 3 Insert 2 piling up silica g
EN 17ENSeal the Case1 Close the Case gently while aligning the mounting projection of the rear lid and groove.2 Turn the open/close dial clockwise unt
EN 18ENPerform the final checksVisual InspectionAfter sealing the Case, check the sealing part of front and rear lid visually to confirm that the O-ri
EN 19EN4. Taking Pictures Under WaterUnderwater shooting modes kUnderwater Wide-Angle 1Suitable for shooting a scene that extends across a wide range
EN 2ENIntroductionzUnauthorized copying of this manual in part or in full, except for private use, is prohibited. Unauthorized reproduction is strictl
EN 20ENHow to select the shooting sceneLocking AF during underwater shootingSelecting the underwater movie modeThe underwater movie mode is available
EN 21EN5. Handling After ShootingWipe off any waterdropAfter completing the shooting and returning to land or a ship, wash lightly in pure water and w
EN 22ENTake out the digital cameraOpen the Case carefully and remove the digital camera.Wash the Case with pure waterAfter use, seal the Case again af
EN 23EN6. Maintaining the Waterproof FunctionWhenever you open the rear lid of the Case, always be sure to perform the O-ring maintenance operation as
EN 24ENRemove any foreign matter adhered to the O-ring groove using a lint-free clean cloth or cotton swab. Also remove any sand or dirt adhered to th
EN 25ENHow to Apply Grease to the O-ring1Apply the exclusive lubricant to each O-ring.Make sure that your fingers and the O-ring are free of di
EN 26ENInstall the O-ringConfirm that no foreign matter is adhered, apply a thin coat of the grease provided to the O-ring, and fit the O-ring into th
EN 27EN7. AppendixSpecifications* We reserve the right to change the external appearance and the specifications without notice.Supplied accessories fo
EN 28ENSold separately accessoriesSilicone grease: PSOLG-3Optical fiber cable: PTCB-E02Underwater flash: UFL-1Short arm: PTSA-02, PTSA-03Step-up ring
VM9754TA-01-01-PT-055-Inst-EN.book Page 29 Monday, January 7, 2013 2:53 PM
EN 3ENFor safe useThis instruction manual uses various pictographs for correct use of the product and to prevent danger to the user and other persons
EN 4ENCAUTION1 Do not disassemble or modify this product. This may cause water leakage or trouble. OLYMPUS IMAGING CORP. shall not be responsible for
EN 5EN6 Jumping into the water with the Case in your pocket or in your hand, throwing the Case from a boat or ship into the water, and other rough han
EN 6ENContentsIntroduction ... 2Please read the following items before use ...
EN 7EN6. Maintaining the Waterproof Function...23Remove the O-ring...
EN 8EN1. PreparationsCheck the contents of the package.Check that all accessories are in the box.Contact your dealer if accessories are missing or dam
EN 9ENNames of the parts**1 Palm grip2 Diffuser3 Shutter lever4 ON/OFF button5 Accessory mount6 Front lid7 Open/close dial8 Lock knob9 Lens ring0 LCD
© 2020, manymanuals.com. All rights reserved. | 1.709 s |
 Manymanuals.com
 Manymanuals.de
 Manymanuals.fr
 Manymanuals.it
 Manymanuals.pl
 Manymanuals.cz
 Manymanuals.es
 Manymanuals-pt.com
Comments to this Manuals