Olympus VP--1 User Manual
Browse online or download User Manual for Projectors Olympus VP--1. Olympus VP--1 User Manual
- Page / 72
- Table of contents
- TROUBLESHOOTING
- BOOKMARKS
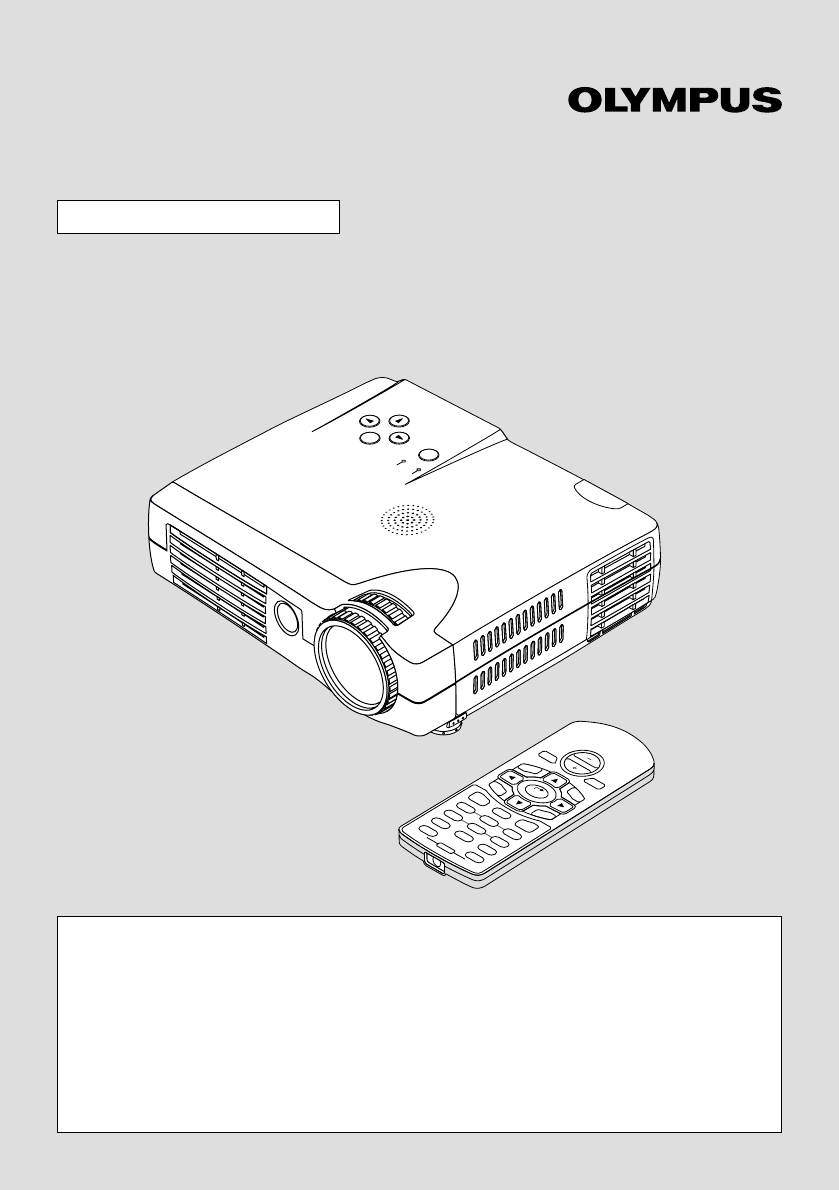
- Data Projector 1
- User’s Manual 1
- IMPORTANT SAFETY INFORMATION 2
- Important Safeguards 3
- Fire and Shock Precautions 4
- Warnings 4
- Major Features 5
- Table of Contents 6
- Adjustments and Settings 7
- Miscellaneous 7
- User’s Manual Links 7
- Names of the Main Unit Parts 10
- Built-in Security Slot 11
- Preparing the Remote Control 13
- Remote Control Range 14
- Placement Guide 16
- Projection Distance Table 17
- Operating 24
- Finishing 25
- Focus Adjustment 27
- General Operation 28
- Selection of Aspect Ratio 30
- Freezing a Moving Picture 31
- Using the Quick Menu 32
- Brightness 33
- Adjustment Method 34
- Adjustment of the Volume 36
- Menu Operation Method 37
- Performing Menu Operations 39
- Fine Picture 47
- H Position 48
- V Position 48
- Quick Color Adj 49
- Color Temp 49
- Color System 50
- Color Space 50
- Projection 52
- Keystone 53
- Picture in Picture 54
- Language 55
- Auto Source 55
- Auto Power Off 56
- On Screen 56
- Menu Position 57
- Background 57
- White Balance 58
- Factory Default 59
- Lamp Timer Reset 59
- Resolution / Frequency 60
- Lamp Timer 60
- Troubleshooting 63
- Cleaning 65
- Replacing the Lamp Cartridge 66
- Install the lamp cover 68
- Reset the lamp timer to zero 68
- Specifications 69
- Table of Supported Frequency 70
- Cabinet Dimensions 71
- Technical Assistance : 72
Summary of Contents
POWERAUTOMENUSTATUSPOWERSOURCEQUICKMENUONOFFFREEZEMUTEPIPDIGITALRGBYPbPrVIDEOS-VIDEOYCbCrQUICKENTERZOOMVOLVKSTNHKSTNCANCELMENUASPECTAUTOPOWERData Proj
E-10Names of the Main Unit PartsPOWERAUTOMENUSTATUSPOWERSOURCEQUICKMENUAUDIOVIDEOPOWERAUTOMENUSTATUSPOWERSOURCEQUICKMENUExhaustventsPrecautionsThe ven
E-11Names of the Main Unit PartsAUTOSOURCEQUICKMENUPCAUDIOVIDEOPOWERAUTOMENUSTATUSPOWERSOURCEQUICKMENUPCAUDIOVIDEOFront adjusters [E-27]Built-in Secur
E-12+/– button(Used in all adjustments)Names of the Remote Control PartsONOFFFREEZEMUTEPIPDIGITALRGBYPbPrVIDEOS-VIDEOYCbCrQUICKENTERZOOMVKSTNHKSTNCANC
E-13Preparing the Remote ControlButton Battery ReplacementUsing the remote control for the first timeThe battery compartment is fitted with a transpor
E-14Remote Control RangePoint the infrared transmitter of the remote control toward the remote control sensor located at the frontor rear of the main
E-15The Procedure Up to Projecting to the ScreenPerform setup adjustments in the following order.1Position the projectorSee “Screen Size and Projectio
E-1626"40"60"80"100"120"150"180"200"1.20 (3.94)1.54–1.85(5.05–6.07)2.33–2.80(7.64–9.19)3.12–3.75 (10.24 –
E-17Placement Guide* There is a tolerance of ±5% due to design values.* This table uses the lens apex and lens center as references and requires that
E-18Connecting Personal Computers and Video Equipment● Connecting this unit with a personal computer permits presentation data to be projected as a la
E-19Connecting Personal Computers and Video EquipmentPersonal Computers with a mini D-Sub 15-Pin Connector* Make the connection to the projector’s PC
E-2IMPORTANT SAFETY INFORMATIONPrecautionsPlease read this manual carefully before using your OLYMPUS Data Projector VP-1 and keepthe manual handy for
E-20Connecting Personal Computers and Video EquipmentTo Output the External Output Signal of a Notebook ComputerWhen projection will be with a noteboo
E-21Connecting Personal Computers and Video EquipmentConnections with Video ConnectorsVideo Equipment with VIDEO Connectors* Make the connection to th
E-22PCVIDEOAUDIOCrCbYPrPbYCOMPONENTCOMPONENTConnecting Personal Computers and Video EquipmentConnections with Component Video SourcesWhen the Video Co
E-23Connecting Personal Computers and Video EquipmentConnections with Audio Connectors* Make the connection to the projector’s AUDIO jack using an aud
E-24Power Cable Connections and Switching the Power On/OffThere is an order in which the power cable is connected and the power is switched on/off.Ope
E-25Power Cable Connections and Switching the Power On/OffFinishing1Switch off the power of the connected equipment2Switch off the power of the projec
E-26Adjustment of the Projection ScreenSwitch on the power of the connected equipment and make the adjustments with the video signalbeing input to the
E-27Using the AdjustersAdjustment of the Projection Screen(1)POWERAUTOMENUSTATUSPOWERSOURCEQUICKMENU(1)(2)POWERAUTOMENUSTATUSPOWERSOURCEQUICKMENUPCAUD
E-28General OperationThis section describes the use of direct operation with the main unit or remote control buttons.For information about operation u
E-29Automatic Adjustment of Analog RGBGeneral OperationMENUAUTOSOURCEQUICKMENUON OFFFREEZE MUTE PIPDIGITAL RGB YPbPrVIDEO S-VIDEO YCbCrQUICK ASPECT AU
E-3Important SafeguardsThese safety instructions are to ensure the long life of the unit and to prevent fire and shock.Please read them carefully and
E-30DIGITAL RGB YPbPrVIDEO S-VIDEO YCbCrQUICKCANCELMENUASPECT AUTOImage of the Personal Computer(when selecting digital RGB or analog RGB)Each press o
E-31Projecting a Picture in PictureThis function displays the video image (i.e., the picture of theVIDEO connector input) on the personal computer scr
E-32General OperationUsing the Quick MenuThis function permits commonly used adjustments tobe performed quickly.Note that the Quick Menu will not be d
E-33General OperationBrightness Adjusts the brightness of the image.Brightness decreases in the (–) direction and increases in the (+) direction.Contr
E-34General OperationCorrecting Keystone Distortion of the Projection ScreenThis adjustment is used when the projection screen is dis-torted.Note that
E-35General OperationEnlargement of the Image and Video MovementThis function digitally enlarges the personal computer image andvideo image (up to 10
E-36General OperationAdjustment of the VolumeThis function adjusts the volume of the built-in speaker.(1) Press the VOL button.The volume adjustment d
E-37Menu Operation Method● This section describes only the menu operation method. Please see this page should you need infor-mation while performing m
E-38Menu Operation MethodNames and Functions of the Main Unit Buttons Used in Menu OperationMENUAUTOSOURCEQUICKMENUSTATUSPOWERPOWERMENU buttonUsed to
E-39Menu Operation MethodPerforming Menu Operations● The menu operations of the main unit buttons differ from those of the remote control buttons.When
E-4Fire and Shock Precautions• Ensure that there is sufficient ventilation and that vents are unobstructed to prevent thebuildup of heat inside the un
E-40Info.SetupViewColorImageAspectFilterProjectionAuto3Keystone2Press the cursor ( ) button to select the menu nameSelection of the Menu NameENTERCA
E-41Info.SetupViewColorImageAspectFilterProjectionAuto3Keystone4Press the cursor (▲▼) button to align the cursor with the item nameSelection of the It
E-426Press the MENU button and close the menu displayClosing the MenuENTERCANCELMENUHKSTNVKSTNMain unit operation: Press the MENU button and cancel th
E-43Selecting Another Menu Name with Remote Control OperationMenu Operation MethodWhen a sub menu is displayed, press the CAN-CEL button and close the
E-44Analog RGBDigital RGBYPbPrYCbCrVideoS-Video
E-45Info.SetupViewColorImageLanguageAuto Source OnOffOnBlackAuto Power OffOn ScreenMenu PositionYPbPrBackgroundDisableAnalog RGBDigital RGBVideoS-Vide
E-46Image● Perform this operation while projecting the picture for which the adjustment/setting will be made.● Select the menu name “Image”.See “Menu
E-47Picture Adj. / Fine Picture / H Position / V PositionThese adjustments are available when analog RGB signalsare input.Usually, automatic adjustmen
E-48H PositionAdjust this when the picture is shifted to the left or right.Select the “H Position” item name and adjust with the cursor( ) buttons.I
E-49Color● Perform this operation while projecting the picture for which the adjustment/setting will be made.● Select the menu name “Color”.See “Menu
E-5Major FeaturesBook-sized, lightweight (at about 1.1 kg/2.4 lbs) and small high-inten-sity mobile projectorDMD and the synergistic effects of our ow
E-50Color SystemThis function sets the color system of the video signal.Normally, this should be set to Auto. Set this function whenthe system cannot
E-51View● Perform this operation while projecting the picture for which the adjustment/setting will be made.● Select the menu name “View”.See “Menu Op
E-52FilterThis function sets the sharpness when the input signal isadjusted to the resolution of the projector and enlarged orreduced.Select the item
E-53ViewKeystoneThis function corrects the keystone distortion of the pro-jected picture on the screen. Adjust so that the edges areparallel in the ve
E-54AspectFilterProjectionAuto3KeystoneV KeystoneH KeystoneKeystone SaveOff–+0–+0AspectFilterProjectionAuto3KeystonePicture in PictureAspectFilterProj
E-55Setup● Select menu name “Setup”.See “Menu Operation Method” on Pages E-37 to E-45 for information about performing menu operations.The item name d
E-56This function switches off the projector power automaticallywhen the input of the projector enters a no-signal condition.Select item name “Auto Po
E-57Menu PositionThis function sets the display position of the menu.Select item name “Menu Position” and select the setting contentswith the cursor (
E-58White BalanceThis function automatically adjusts the black level and thewhite level of the analog RGB input signal so that they suitthe personal c
E-59Info.● Select menu name “Info.”.See “Menu Operation Method” on Pages E-37 to E-45 for information about performing menu operations.The item name d
E-6Table of ContentsPreparation and Background KnowledgeIMPORTANT SAFETY INFORMATION ...
E-60Info.Resolution / FrequencyThis function displays the resolution and frequency of thedetected input signal.This information will not be displayed
E-61When the STATUS Indicator is Lit/BlinksSTATUS indicatorPOWERAUTOMENUSTATUSPOWERSOURCEQUICKMENUAUDIOVIDEOPOWER indicatorWhen the STATUS indicator o
E-62STATUS IndicatorPOWER Indicator Action to TakeSTATUSLit redPOWERWhen power is on:Lit greenWhen power is off:Lit amberIt is timer to replace the la
E-63TroubleshootingCheck the following matters before requesting servicing.* Has the power plug become disconnected from theoutlet?* Is the lamp cover
E-64Troubleshooting* Other than for “Setup” and “Info.”, selection is not per-mitted unless a signal is input to the projector and animage or picture
E-65Cleaning● Be certain to disconnect the power plug from the power outlet before cleaning.● Do not spray or otherwise expose the projector, lens, or
E-66The lamp that is used as a light source in the projector has a limited service life. The rated servicelife of the lamp is about 1000 hours. This c
E-67Replacing the Lamp CartridgePREPARATION Turn the projector upside down and place it on a soft cloth that hasbeen prepared in advance to prevent sc
E-685.Install the new lamp cartridge(1) Slowly push in the lamp cartridge with thesocket facing forward. (Align the lamp cartridgescrew with the screw
E-69SpecificationsOpticalDMD Single Chip Digital Micro Device (DMD)1024 768 pixelsLamp 120 W high-pressure mercury lampProjection lens Manual zoom (
E-7Adjustments and SettingsImage ...
E-70Table of Supported FrequencyVESA 640 350 31.5 70.1 –640 350 37.9 85.1 –720 350 31.5 70.0 –640 400 31.5 70.1 –640 400 37.9 85.1 –720
E-71Cabinet DimensionsSTATUSPOWERMENUPOWERAUTOSOURCEQUICKMENUUnit: mm (inch)47 (1.9)180 (7.1)163 (6.4)
Technical Assistance :Olympus Digital Technical Support(800)798-2777 toll-free hotlineMon. – Fri., 8 AM to 10 PM Eastern TimeE-mail : [email protected]
E-8Checking the Supplied AccessoriesRemove the main unit and the accessories from the box and check that the following items are included.ONOFFFREEZEM
E-9Checking the Supplied AccessoriesAudio cable (2.5 mm diameter plug / RCA pinplug, 1.5 m / 4.9 feet) [1]This cable is used with equipment that has p
More documents for Projectors Olympus VP--1

Related products and manuals for Projectors Olympus VP--1
 (42 pages)
© 2020, manymanuals.com. All rights reserved. | 1.047 s |
 Manymanuals.com
 Manymanuals.de
 Manymanuals.fr
 Manymanuals.it
 Manymanuals.pl
 Manymanuals.cz
 Manymanuals.es
 Manymanuals-pt.com
Comments to this Manuals