Olympus FS-HV1 User Manual Page 10
- Page / 30
- Table of contents
- BOOKMARKS
- Flash High Voltage Set 1
- High Voltage-Set 1
- !"#$ 3
- !" 4
- !"# 4
- !"#$%& 5
- !"#$%&'()* 5
- WARNING 7
- CAUTION 7
- OPERATING PRECAUTIONS 8
- Recharging the battery pack 9
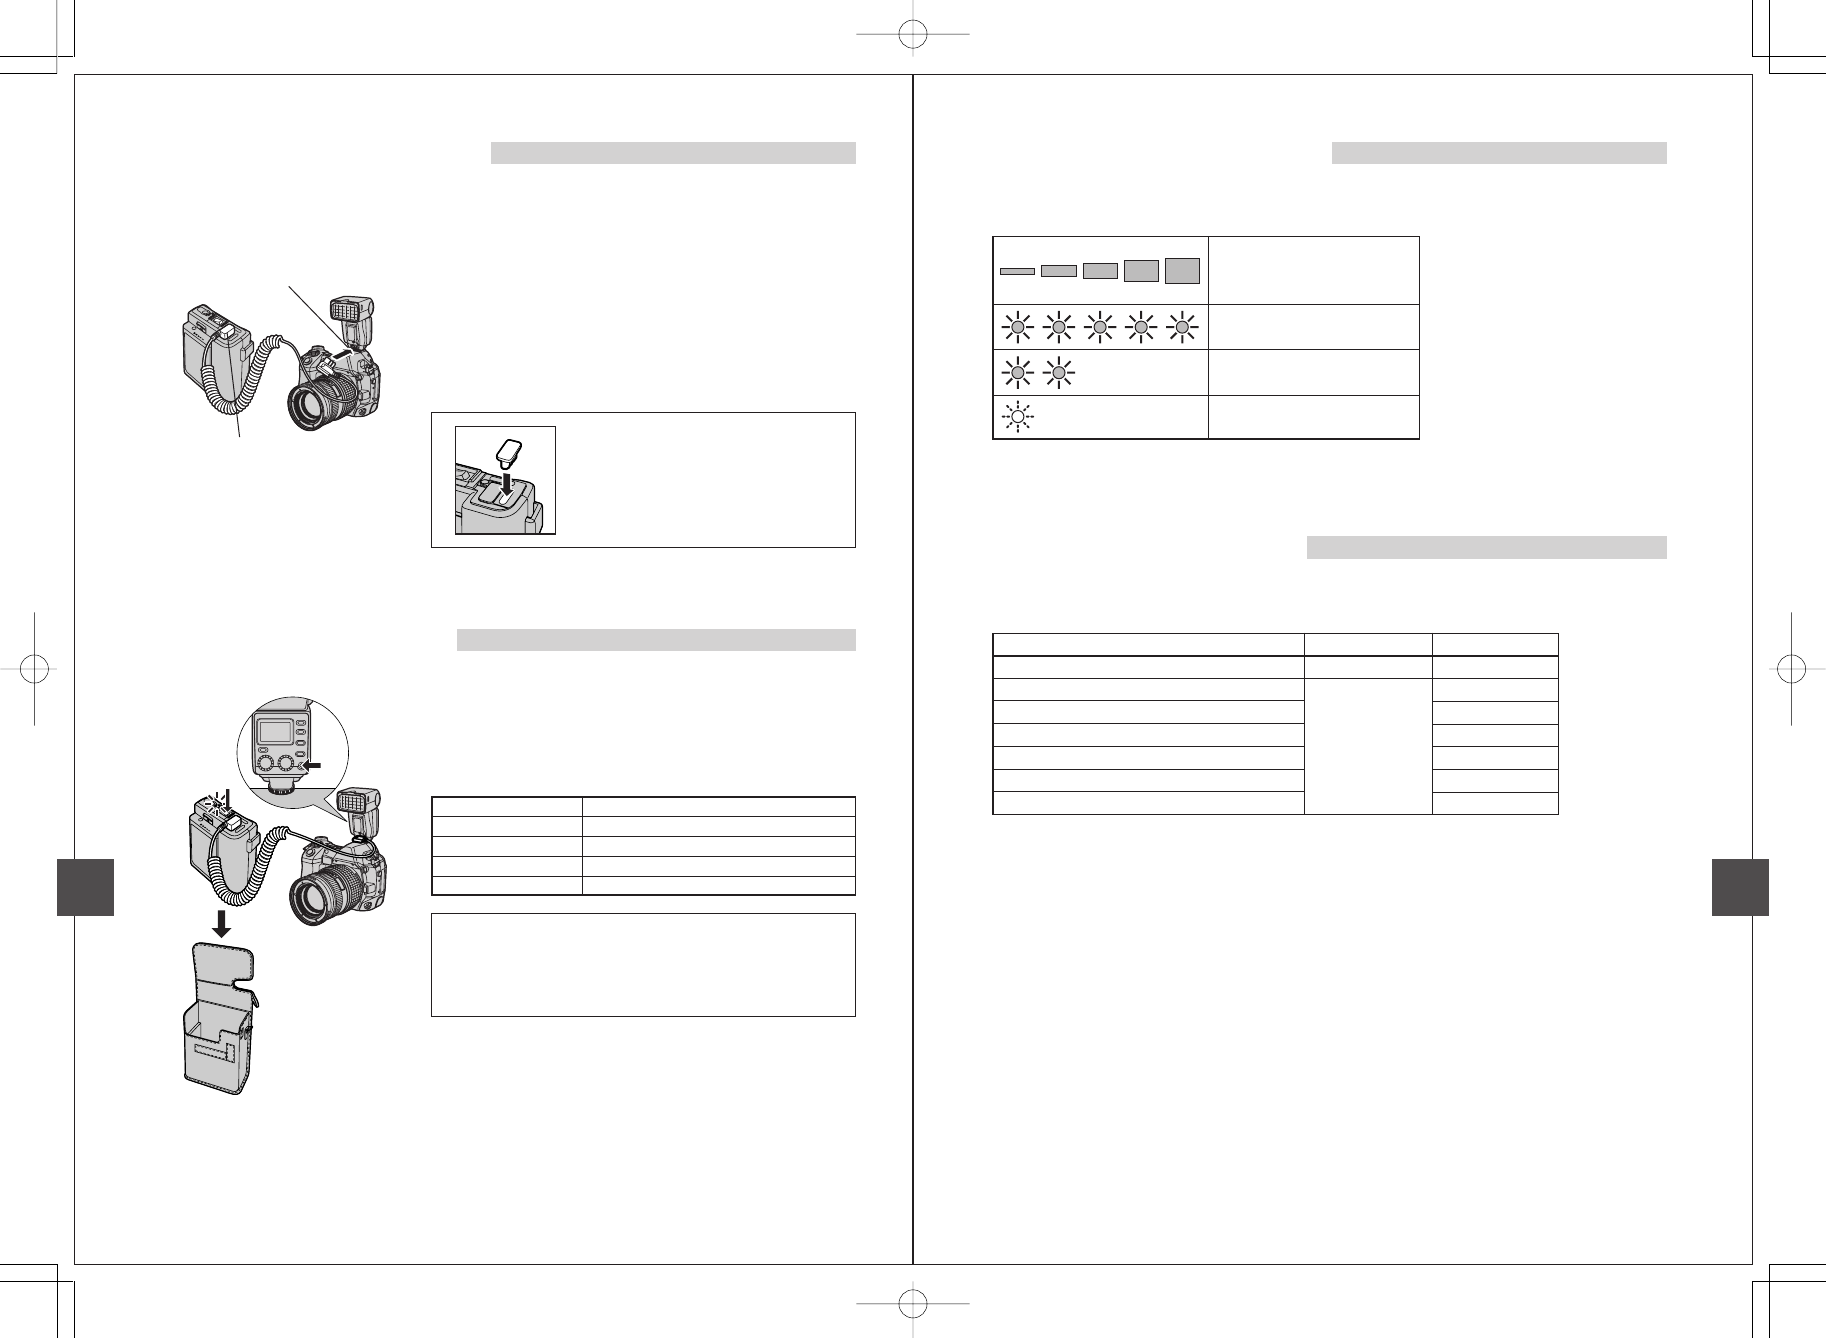
- Turning the flash system on 10
- GEFAHR 12
- ACHTUNG 12
- VORSICHT 13
- Bezeichnungen der TeileInhalt 14
- Laden des Akkus 15
- Einschalten des Blitzsystems 16
- Anschluss an ein Blitzsystem 16
- Akkuladezustandsanzeige 16
- Mode d’emploi 17
- DANGER 18
- AVERTISSEMENT 18
- PRÉCAUTIONS DE FONCTIONNEMENT 19
- Nomenclature 20
- Table des matières 20
- Raccordement au système flash 22
- Instrucciones 23
- PELIGRO 24
- ADVERTENCIA 24
- PRECAUCIONES DE OPERACIÓN 25
- Nomenclatura 26
- Contenidos 26
- Activando el sistema flash 28
- Conexión al sistema de flash 28
- Especificaciones principales 29
- MEMO MEMO 30
Related products and manuals for Camera flashes Olympus FS-HV1
 (20 pages)


 (172 pages)
(200 pages)
(172 pages)
(200 pages)


 (186 pages)
(2 pages)
(19 pages)
(116 pages)
(186 pages)
(2 pages)
(19 pages)
(116 pages)


 (162 pages)
(36 pages)
(188 pages)
(162 pages)
(162 pages)
(36 pages)
(188 pages)
(162 pages)
© 2020, manymanuals.com. All rights reserved. | 0.624 s |
 Manymanuals.com
 Manymanuals.de
 Manymanuals.fr
 Manymanuals.it
 Manymanuals.pl
 Manymanuals.cz
 Manymanuals.es
 Manymanuals-pt.com
Comments to this Manuals